Creator’s Manual
🚩 Notice
Creators do not receive the payment from shared prints except donation.
Create an account
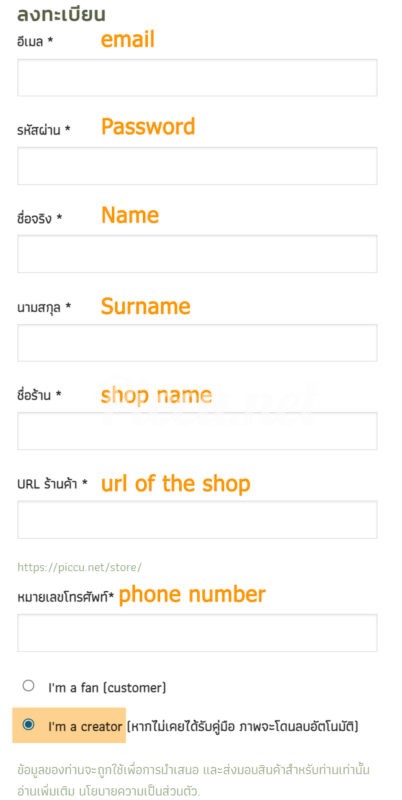
- Click https://piccu.net/my-account and choose ‘I’m a creator’
- Please use your registered email as the same as the google form. (in case we need to contact you back)
- Set the name of shop name and url in english only
- Set a secure password, otherwise the system won’t let you register.
- press the light green button ‘ลงทะเบียน’ means ‘register’
Creator Dashboard
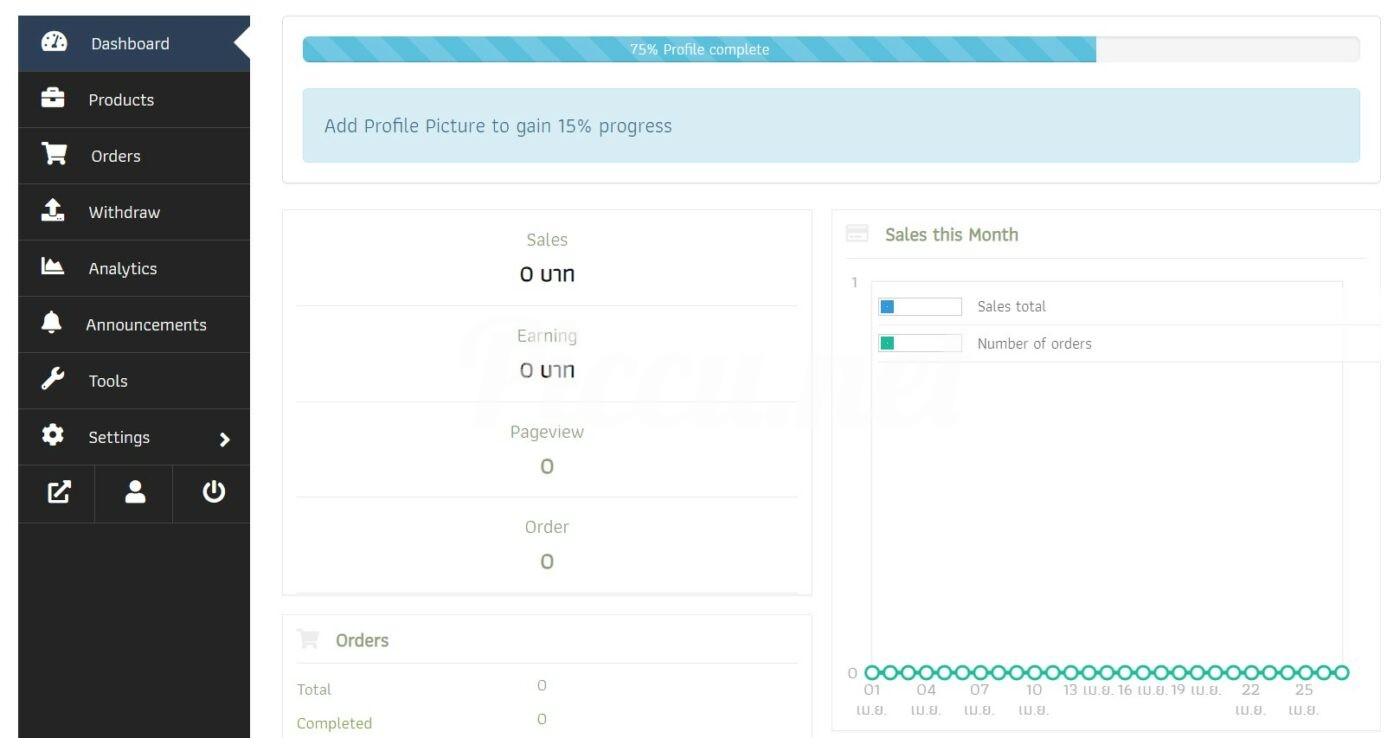
Click on the orange button ‘go to the vendor dashboard’. or click 🚩 https://piccu.net/dashboard . The picture below is how the dashboard looks like.
Add the image
PLEASE FOLLOW THESE STEPS
1. One picture per one product only
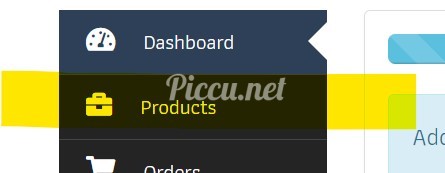
2. Click on ‘products’
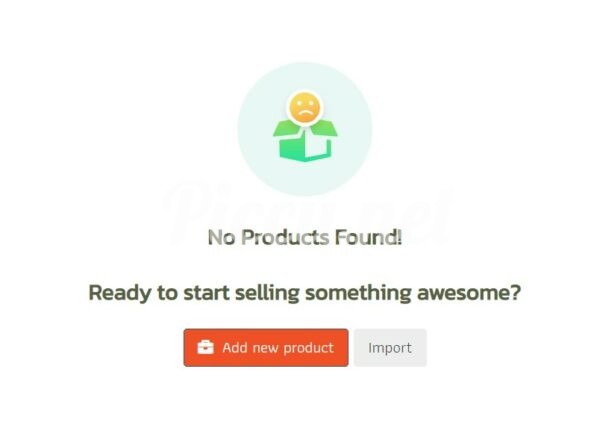
3. Choose ‘Add new product’
4. How to upload the picture and add the information of the shared prints
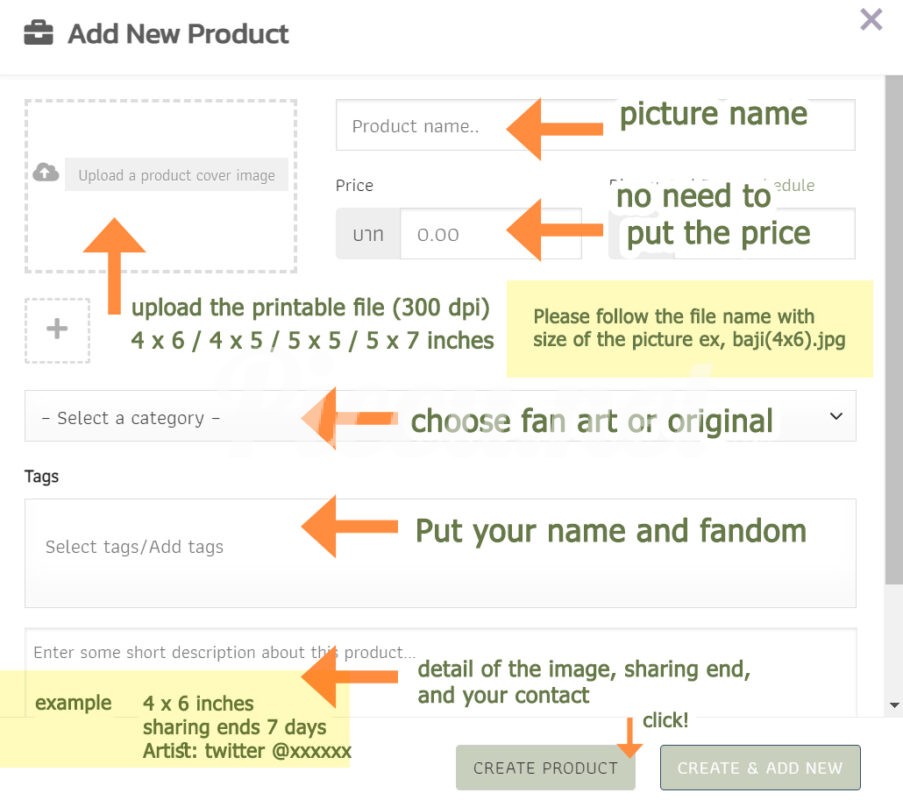
4.1 Add the name
4.2 No need to put the price
4.3 in the ‘upload a product cover image’ you are able to upload the printable file
- A JPG file
- Resolusion : 300 dpi
- Acceetable Sizes : 4 x 6 inches / 5 x 7 inches / 4 x 4 inches / 5 x 5 inches
- Put the size at the end of the file name, such as Baji(4×4).jpg
- The cover image will be automatically resized to 400 px.
- ‘Piccu.net’ watermark will be automatically added on the cover image in order to prevent stealing the image (there won’t be the watermark on the actual prints)
4.4 choose the category between Fan art or original
4.5 put the tag such as your name, fandom, or paring
4.6 the short description, please copy the detail below and edit as you would like.
4 x 6 inches (it can be changed to your image size)
Sharing ends (3 days / unlimited)
Artist twitter @xxxx / Facebook xxxx
For example
5 x 5 inches
Sharing ends 7 days
Artist twitter @homuinth
5.Click ‘create product’
🚩 We’ll review your image within 3 business days and get back to you via email or twitter DM.
If you have any questions, please contact us via @homuinth on twitter or email [email protected]
🚩🚩🚩 The products will be moved to our store after the images have been approved, so your fan will be able to order. Then there’s will be blank (no products) on your dashboard. So don’t be surprised. 🚩🚩🚩
Donation
(optional)
You are able to receive the donation from your fan during the sharing period.
Adding the donation.
1. Choose ‘products’
2. Choose ‘add new product’
3. The detail on the donation
3.1 put the ‘Donate to @’ follow by your name, for example ‘Donate to @homutinth’
3.2 put 10 for the price (it’s minimum for the donation)
3.3 upload the picture. Please ust the template here. (you are able to adjust it as you would like)
3.4 choose ‘donation’ for category **important**
3.5 put your name for the tag
3.6 short description can be blank or put your own word to your fans.
3.7 press ‘create product’
We’ll review it within 3 business days
🚩 You are able to check your donation via dashboard https://piccu.net/dashboard/orders
Withdraw the donation
1. Choose withdraw or click https://piccu.net/dashboard/withdraw
2. Put the amount that you would like to withdraw. (the minimum is 100 THB)
3. Press the ‘request’ button
4. We’ll review and transfer it within 3 – 5 business days.
5. If you use PayPal, please contact us to assist you.
Thank you for using Piccu.net